Creating a gallery wall with picture frames can transform any space into a personalised, visually captivating presentation of your cherished memories and artistic expressions. Whether you’re an art enthusiast looking to curate a collection of your favourite pieces or a homeowner seeking to infuse character and charm into your living environment, a gallery wall is a fantastic option.
If this process seems complicated and you’re unsure where to start, don’t worry—this guide is here to help. From choosing the ideal wall location to arranging frames thoughtfully, you’ll discover all the necessary steps and techniques for designing a gallery wall that’s nothing short of picture-perfect.
Select Proper Frames
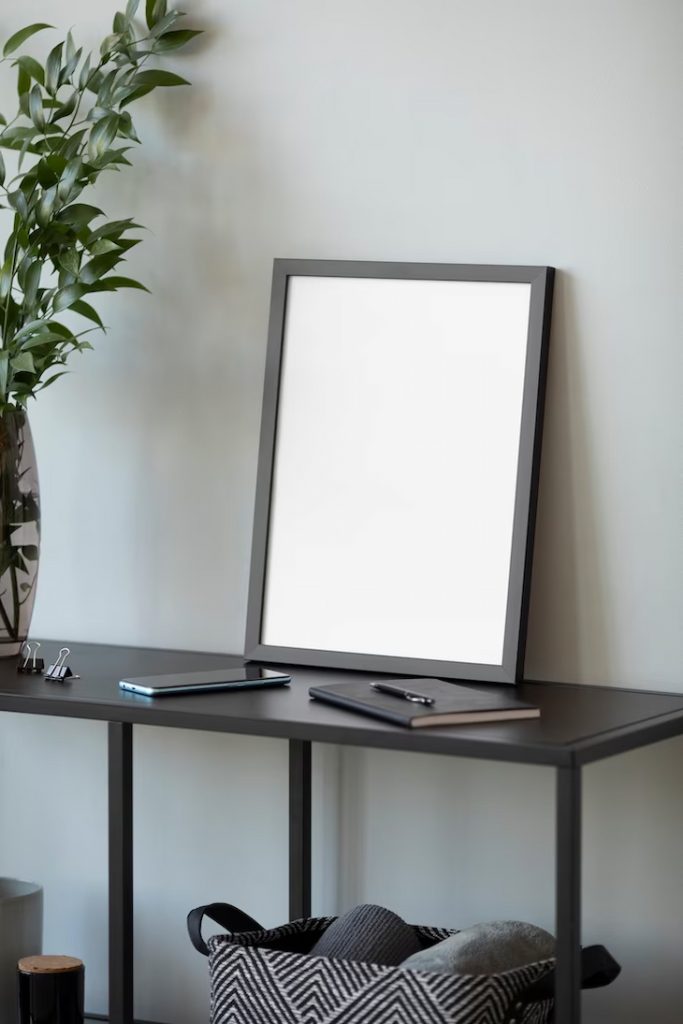
Choosing the right frames is a pivotal step in creating a stunning gallery wall. They not only serve as protective vessels for your cherished artwork and photographs but also contribute significantly to the visual impact of the entire display. The ones you select should align with your design vision and enhance the overall aesthetic.
Frame size plays a critical role in achieving the desired visual effect. Models that are too small may get lost on a large wall, while oversized frames can overwhelm a smaller space. That said, make sure to strike the right balance to create a harmonious display.
For instance, incorporating a decorative and appealing A3 picture frame, with dimensions of 297 x 420 mm, can be an excellent choice to elevate your gallery wall. These larger frames offer the versatility to showcase medium-sized artwork, posters, or photographs with a significant visual impact. Their inclusion in your gallery wall can add variety and depth to the display, providing a captivating focal point for your cherished pieces.
Whether you prefer classic wood frames, contemporary metal finishes, sleek minimalist designs, or ornate and decorative options, you canfind A3 picture frames to complement your artistic vision and the decor of your space. This variety of styles ensures that you can curate your gallery wall with frames that not only resonate with your taste but also harmonise seamlessly with the decor of your space. So, whether you’re aiming for a traditional, modern, or eclectic look, there’s a suitable A3 picture frame to help you achieve your desired gallery wall aesthetic.
This size in particular is generally considered a medium frame size, which means it can work well as a standalone piece on smaller walls or as part of a larger gallery wall. Its dimensions provide enough space for the artwork to make an impact without being too overpowering, making it a versatile option for various display layouts. It doesn’t feel too small or too large, striking a balance that can help create a cohesive and visually pleasing display.
Additionally, consider frames with dimensions like A4 (210 x 297 mm) and A2 (420 x 594 mm) to complement your A3 frames. A4 frames can be used for smaller artwork, photographs, or certificates, while A2 frames are larger, making them ideal for substantial pieces that demand attention.
Choose a Suitable Wall Location
Selecting the right wall for your gallery display is a crucial decision. Start by considering the room’s purpose and traffic flow. Ideally, your gallery wall should be a focal point or an area where people naturally gather. Living rooms and dining areas are popular choices, as are hallways that can serve as an ever-evolving display of your cherished memories.
Additionally, evaluate the size and proportion of the wall. The wall should provide enough space to accommodate your frames without appearing cramped or sparse. The wall’s colour and texture should harmonise with your frames and artwork, enhancing the overall aesthetics.
Gather Materials and Inspiration
To create a captivating gallery wall, it’s essential to assemble both the physical items and creative ideas. Start by collecting the materials, which include the artwork and photographs you plan to hang. These should be pieces that hold personal meaning or aesthetic appeal.
In addition to the tangible materials, seek out inspiration. Explore websites, magazines, and platforms like Pinterest to discover layout ideas, colour palettes, and thematic concepts for your gallery wall. Think of this phase as gathering not just the things you’ll hang on your wall but also the vision and creativity that will make your gallery wall uniquely yours. With both your physical items and creative inspiration in hand, you’ll be well-prepared to embark on the journey of crafting a gallery wall that reflects your style and memories.
Plan the Layout and Create a Template
Designing an eye-catching gallery wall requires careful planning and organisation. Begin by measuring your wall space to understand the available dimensions. Lay out your picture frames, artwork, and templates (paper or cardboard cutouts representing each frame) on the floor. This provides a canvas to experiment with various arrangements until you find the one that resonates with your artistic vision.
Creating templates for each frame by tracing their outlines on paper or cardboard allows you to envision the final layout without putting any holes in the wall prematurely. Labelling each template with its corresponding artwork ensures you maintain a clear vision. This meticulous planning ensures your gallery wall takes shape harmoniously, reflecting your style and creativity with precision.
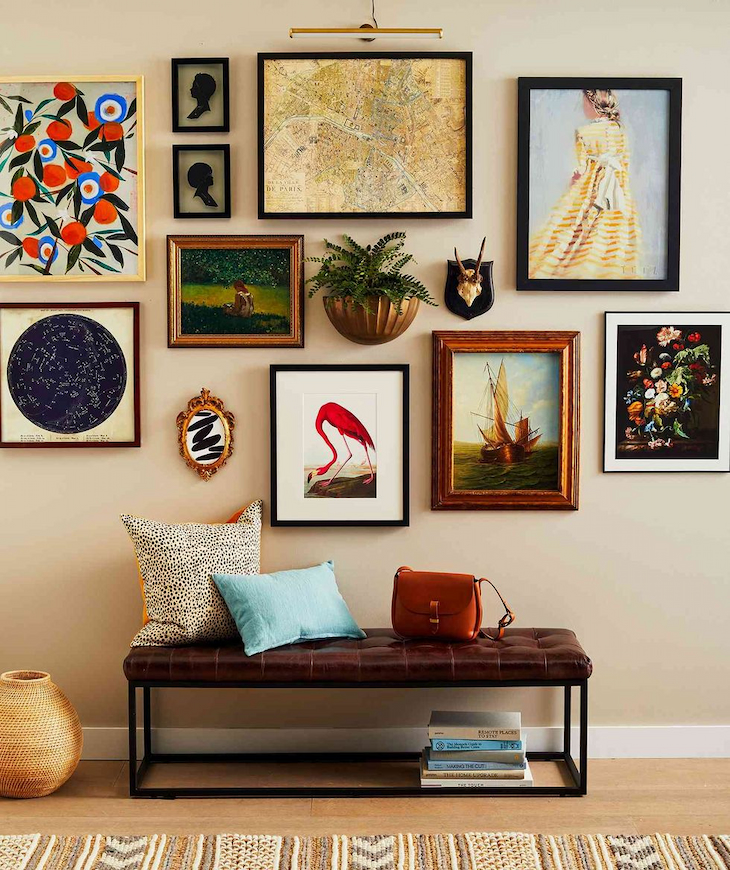
Mix and Match
The beauty of a gallery wall lies in its diversity so don’t hesitate to blend different frame sizes, styles, and colours to create a unique arrangement. Experiment with contrasting artwork, photographs, and decorative objects, allowing them to interact in a captivating, individualistic manner. Think of it as telling your own story through your wall. Whether you want a neat, organised look or a more eclectic one, combining diverse elements makes your gallery wall visually engaging and full of personality.
Hang the Frames

As you move from planning to execution, the process of hanging and decorating with picture frames is where your gallery wall takes physical form. Begin by affixing the frames around your selected focal point, ensuring they’re level, and evenly spaced. Gradually introduce more frames, maintaining a balanced and organised arrangement that reflects your artistic vision.
For added precision and security, use tape to mark where your nails should go. This step ensures that you achieve an arrangement that aligns with your planned design. If you live in an area prone to earthquakes, consider using earthquake putty to secure your frames, preventing them from shifting or falling during seismic activity. This additional precaution ensures the safety and longevity of your gallery wall, so you can enjoy it with peace of mind while it continues to showcase your memories and creativity.
Fine-Tune the Arrangement
Now that your gallery wall is taking shape, it’s time to give it that finishing touch. Step back and take a good look at the arrangement. Ensure frames are properly aligned, and the spacing between them is consistent. This is where you add the final adjustments, making sure everything is balanced and visually pleasing.
This fine-tuning is what elevates your gallery wall from a collection of frames to a harmonious display of your memories and style. It’s the moment you add those little details that make a big difference. So, take your time, make those small changes, and enjoy the satisfaction of a perfectly curated gallery wall.