Your car’s alternator is what makes it possible for your car to run. It’s an important part of the engine that is often overlooked, but when you understand how it works, you can keep your car running well for a long time.
What Is an Alternator?
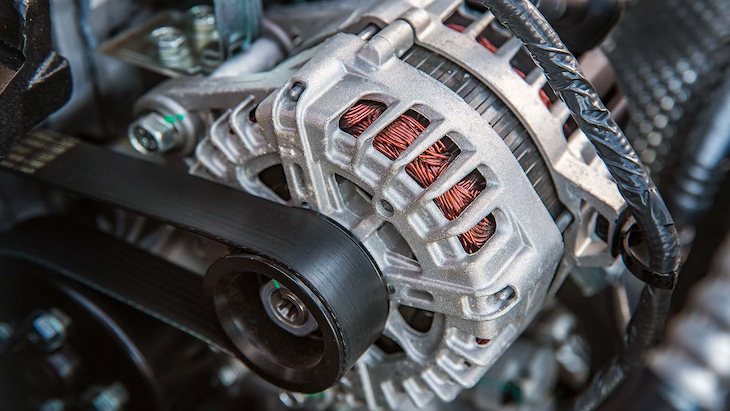
The alternator is a device that converts mechanical energy into electrical energy. On your vehicle, the power from the engine is used to spin a belt-driven shaft which in turn drives generators within the alternator. The alternator then sends this electricity to your car’s electrical system to keep it running properly.
When an alternator starts to fail, you might notice that your battery is being drained even when the car isn’t running. This is because the alternator isn’t generating enough power to keep your vehicle’s systems functioning properly. The best way to diagnose a failing alternator is to listen for a loud buzzing noise coming from under the hood. If you hear this noise, it’s likely that the belt that drives the alternator shaft is broken or worn down. In any case, you’ll need to have your alternator repaired or replaced as soon as possible.
You can keep an eye on your car’s battery by testing its voltage with a multimeter. Set the multimeter to “DC voltage” and check the value against a chart corresponding to your car’s make and model. If the reading falls below 12.6 volts, then there’s a good chance that your alternator isn’t working properly and needs to be repaired or replaced.
You can also test an alternator by using a car battery charger. This method is more complicated than the multimeter, but it’s still relatively simple. Set your charger to 14.4 volts and plug it into the car’s cigarette lighter socket. Then, attach one end of the charger’s power cord to the positive terminal of your battery and the other end to the negative terminal with a clamp. The voltage readings on the multimeter should be close to 14.4 volts after about 30 seconds. If they aren’t, then your alternator isn’t generating enough power and needs to be repaired or replaced.
Where Is the Alternator Located?
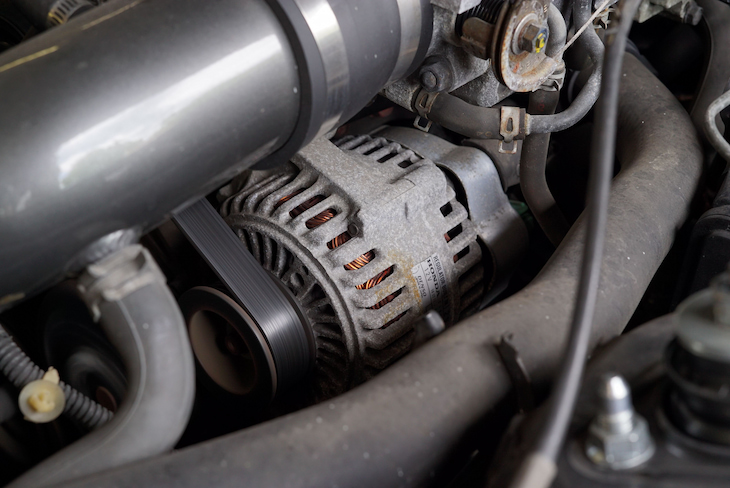
The location of your car’s auto alternator varies depending on its make and model. In most cases, however, it can be found near the front of the engine under a metal cover. This cover is usually held in place by a few screws that are easy to remove if you need to do any repairs.
After removing the cover, you’ll be able to access the auto alternator itself as well as its belt and several electrical connections. The belt that drives the alternator shaft is usually made of rubber and can easily be replaced if it’s worn down or broken. You should also make sure to inspect all of the wires and connectors in your car’s electrical system before attempting any repairs so that you know how they connect.
Where Can You Get an Alternator Replaced?
If your car’s alternator is broken, then you’ll need to find a repair shop that can replace it for you. It’s important that you choose a repair shop that has experience working on vehicles with electronic systems like yours. If the belt is broken or worn down, then all you have to do is replace this part and have the rest of the system inspected by a professional mechanic. You should also check the battery in your vehicle and make sure it still works properly after replacing the alternator.
Replacing an Alternator – DIY Tips
Step 1: Remove the alternator cover and belt.
Step 2: Test the voltage of your battery with a multimeter. If it’s below 12 volts, you need to replace the alternator. If not, proceed to step 3.
Step 3: Connect your battery charger to the positive terminal of your car’s battery and the negative terminal with the clamp on your multimeter. Leave the charger connected for at least 30 seconds. If the voltage reading on your multimeter is more than 14.4V, then proceed to step 4. If not, replace your alternator belt and check for other problems causing a low voltage in your system.
Step 4: Disconnect the charger and remove the multimeter from its connection points. Unplug all of the wiring harnesses connected to the alternator.
Step 5: Remove the alternator itself by unscrewing the bolts and holding it in place. Take note of which wires connect where so you can put them back in the correct spots later. Step 6: Install your new alternator and reconnect all wiring harnesses and electrical connections according to the original factory specifications.
Step 7: Put everything back together, start up your car and check for any problems with the electrical system. If everything seems to be working properly, then make sure that no wires got disconnected during the repair process by checking them again one more time.